The uploading process should be familiar to anyone who has published pages to a web site before, but a brief description of the process is given here.
Although there are several methods available to transfer the vBulletin files from your computer to your web server, by far the most common method in use is transfer via FTP. Most operating systems have built-in tools for opening FTP connections although they are often limited in their usefulness and many people opt to use a third party FTP client application. For this example we will use Smart FTP.
Note:
We do not recommend using the built-in file transfer features in WYSIWYG editors such as Adobe Dreamweaver, Adobe GoLive!, Microsoft Frontpage, or Microsoft Expressions. These programs often add information to vBulletin's files or do not maintain their structure properly which will cause problems while installing or upgrading the software. We also do not recommend using any web-based file managers that your hosting service may provide as a solution. For best performance and reliability you are recommended to use a stand alone FTP client like SmartFTP or Filezilla.
- All text files to be transferred in ASCII mode
- All non-text files to be transferred in Binary mode
The remaining files, which are mostly images, should be transferred to your web server in Binary mode.
Binary file types used in vBulletin include: .gif, .png, .jpg, .ico.
Note:
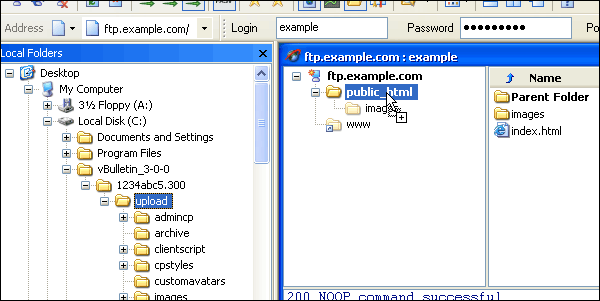
The web publishing folder is usually called public_html, www or htdocs and is located within your home directory. If you are unsure of where to find your own web publishing folder, your host will be able to help you.
<?php
$server = “ftp.you-server.com”; //address of ftp server (leave out ftp://)
$ftp_user_name = “userName”; // Username
$ftp_user_pass = “passwordHere”; // Password
$source = “/home/folder/public_html/filename.ext”;
$dest = “/public_html/filename.ext”;
$mode=”FTP_BINARY”;
$connection = ftp_connect($server);
$login = ftp_login($connection, $ftp_user_name, $ftp_user_pass);
if (!$connection || !$login) { die(‘Connection attempt failed!’); }
$upload = ftp_put($connection, $dest, $source, FTP_BINARY);
if (!$upload) { echo ‘FTP upload failed!’; }
ftp_close($connection);
echo “done”;
?>
Source:
<a href="http://phphelp.co/2012/04/09/how-to-do-server-to-server-ftp-transfer-in-php/">http://phphelp.co/2012/04/09/how-to-do-server-to-server-ftp-transfer-in-php/</a>
<a href="http://addr.pk/af97">http://addr.pk/af97</a>