The only notable difference is if you are using the cPanel Advanced theme. If that's the case, click the then the and join us again at the next step.
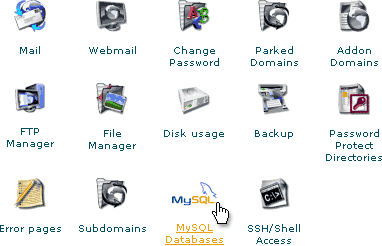
For all others, you should see a screen something like the one in the figure below. Click the icon.
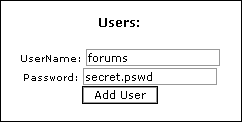
Now we have to create the database user and password. Scroll down the screen until you see this:
Once you have clicked you will be brought to a redirect screen confirming the creation of the username and password. Click the or link to return to the main MySQL screen.
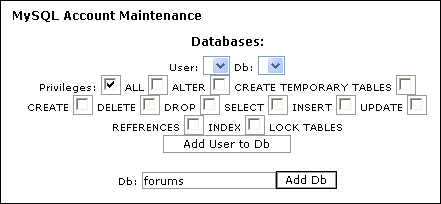
Now you have to add the user to the database so they can have access and control. Scroll until you see this:
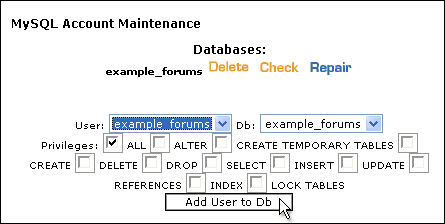
Again, you will be sent to the redirect screen confirming the addition of the user to the database. Again, click the or link to return to the main MySQL screen. You should see something like this:
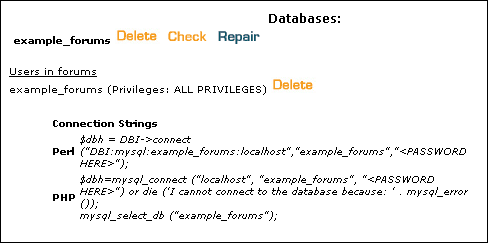
Note:
cPanel will always preface the database name and database username with your main account username and an underscore.
If you chose the database name and the database username your database will be and your database username will be
If you chose the database name and the database username your database will be and your database username will be