The colors to which the standard graphics are matted are based on the colors of the default vBulletin style, which is primarily white and pale blue. It may be that these colors do not suit your own customized styles, in which case you will need to use the vBulletin 3 Graphics Developer Kit to produce a set of graphics matted to your own colors.
Two versions of the Graphics Developer Kit are available from the vBulletin Members' Area. The first contains images that are fully prepared and require only that you choose the matte color and save the resulting images. The second version contains larger, layered images that allow you to make numerous changes to the look of the graphics before saving out the matted versions.
This document will explain the process of saving out images using the 'large, layered' version of the Graphics Developer Kit, as the steps required to achieve the same results with the 'instant matte' version are a subset of these.
After downloading the 'large, layered' version of the Graphics Developer Kit from the vBulletin Members' Area, you should extract the files from the zip archive. You will be left with a directory structure that mirrors the directory structure from the 'images' directory of your vBulletin installation.
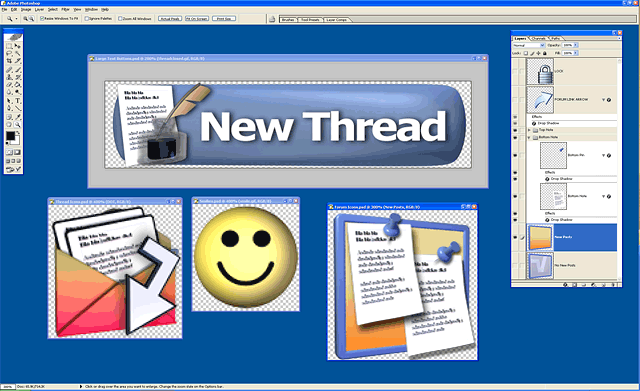
You will find that many of the PSD images are in fact used to build a number of the final graphics. For example, all the smilie graphics are generated from just two PSD files.
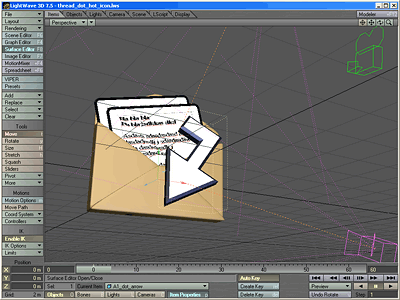
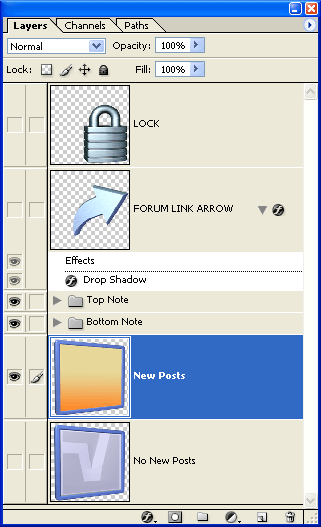
| Here you can see a typical arrangement of image layers within one of the Graphics Kit files. This particular file (Forum Icons.psd) is used to build statusicon/forum_new.gif, statusicon/forum_old.gif, statusicon/forum_new_lock.gif, statusicon/forum_old_lock.gif and statusicon/forum_link.gif. By switching on and off the  icon next to each layer or layer set you can change the visibility of each layer and hence build each individual image. icon next to each layer or layer set you can change the visibility of each layer and hence build each individual image.For example, to build the statusicon/forum_new.gif image, you would need to hide all layers with the exceptions of:
|
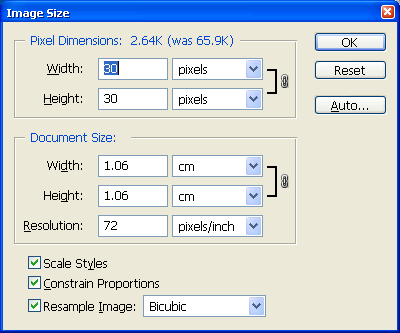
| 1 | Firstly, resize the image to the desired size for the final graphic (see the table of sizes and matte classes for the correct size for each image). The resize command can be found by following Image > Image Size in Photoshop.
|
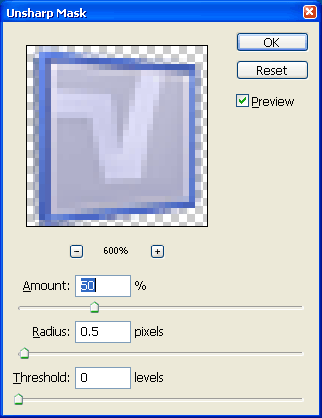
| 2 | Secondly, selecting each visible layer in turn, apply a sharpening filter. We recommend that you use Filter > Sharpen > Unsharp Mask with the following settings:
|
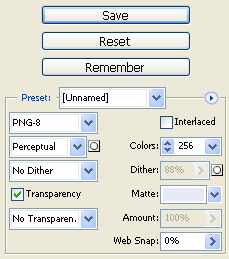
| 3 | Finally, after sharpening each layer, call up the File > Save for Web dialog. Here, set the number of colors to 256, the format to GIF and turn transparency on.
You can refer to the table of sizes and matte classes to find the name of the CSS class on which each graphic will be located, so that you can match that up to an appropriate color. |